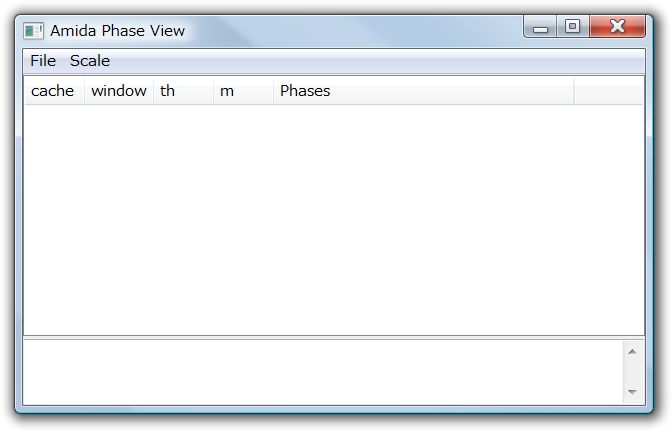
Amida supports phase detection, that is an algorithm dividing a long execution trace into a series of smaller pieces corresponding to features (or tasks to achieve a feature).
First, execute Amida as follows.
(Windows) java -classpath swt.jar;trove-2.0.3.jar;amida.jar amida.Amida
(Other)   java -classpath swt.jar:trove-2.0.3.jar:amida.jar amida.Amida
Select [New Phase Detection] menu.
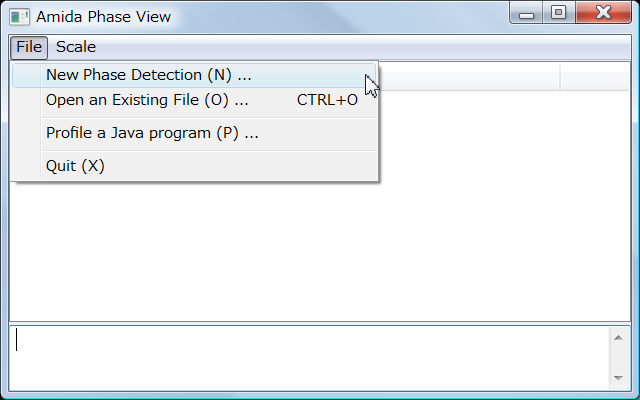
The menu first shows a file open dialog to select a .log file to be analyzed.
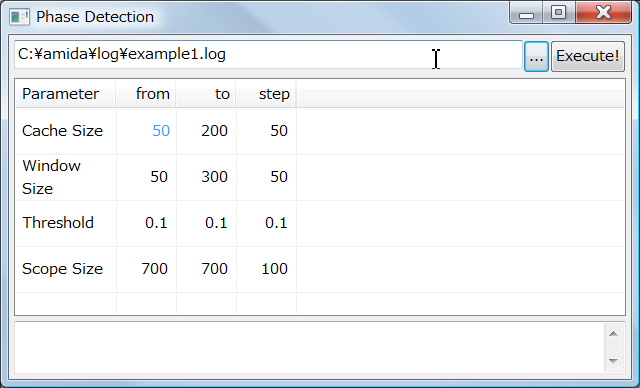
Phase Detection dialog shows the file name you selected and parameters for phase detection.
Clicking on [Execute] button starts phase detection.
You may configure parameters before detecting phases; the details of the parameters are described in our WODA 2008 paper.
After a phase detection, the phase detection dialog is automatically
closed and the result is shown in the main window.
The analysis result for example.log file is saved to
example.log.amd, example.log.threads and example.log.4amidaSep.
example.log.amd file is to visualize the phase detection result;
you may open the file from [Open an Existing File] menu.
The other files are to draw sequence diagrams.
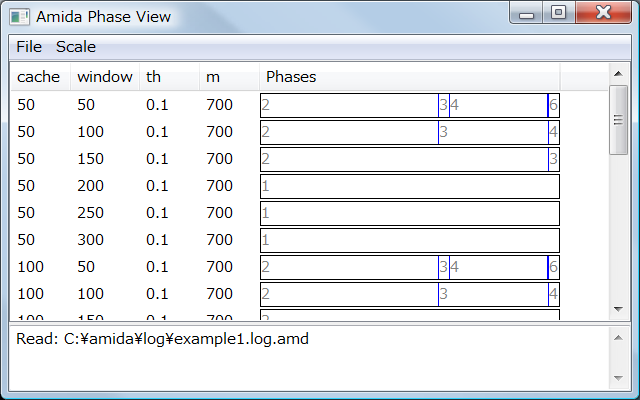
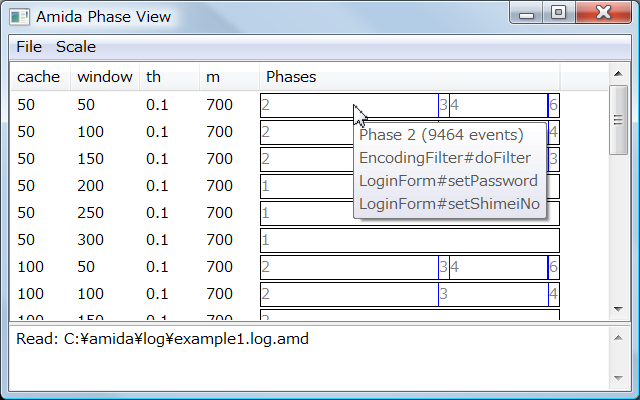
Each row shows a parameter setting and its analysis result. A horizontal black rectangle is an execution trace you have analyzed, and blue lines indicate phases.
Put a mouse cursor on a phase shows the summary of the phase: the number of method call events in the phase, and several methods called at the beginning of the phase.
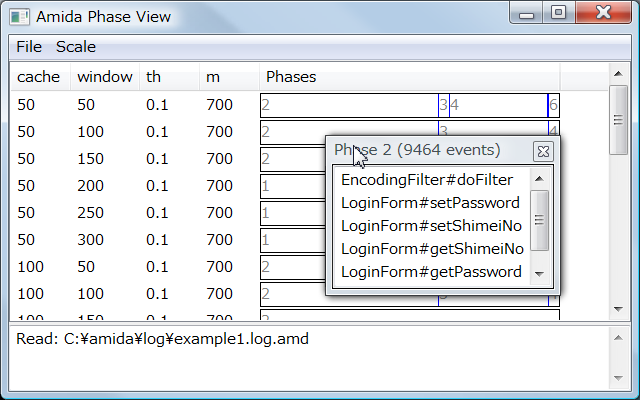
If you have a too small phase to put a mouse cursor on,
you may select an item of [Scale] menu to change horizontal scale.
Right-clicking on a phase opens a small dialog that containing the same information but more method calls. The number of methods shown in this dialog is specified in amida.properties file.
Double-clicking on a phase opens a sequence diagram view, named Amida Viewer.
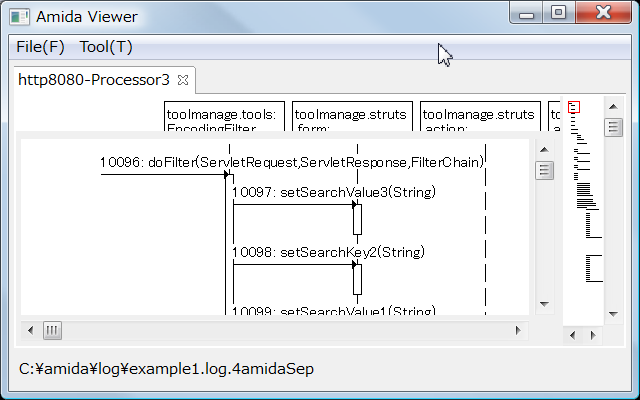
More details about a sequence diagram view is described in the next section.